Why We Love Black and White Portrait Photographs
It has sometimes been said that photographs should be black and white unless there is a good reason to use colour. Whether or not you agree with this, it's an approach that encourages the photographer to make a conscious decision before every shot. But why might we want to create only black and white photos?
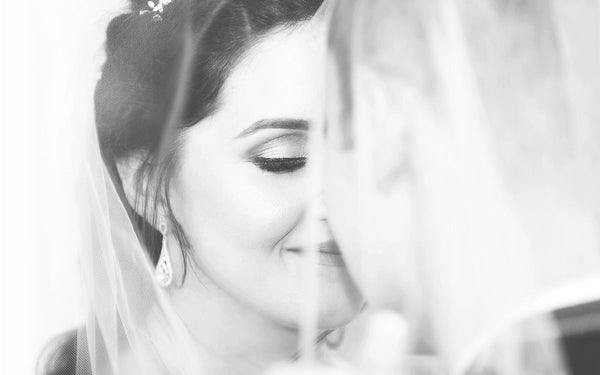
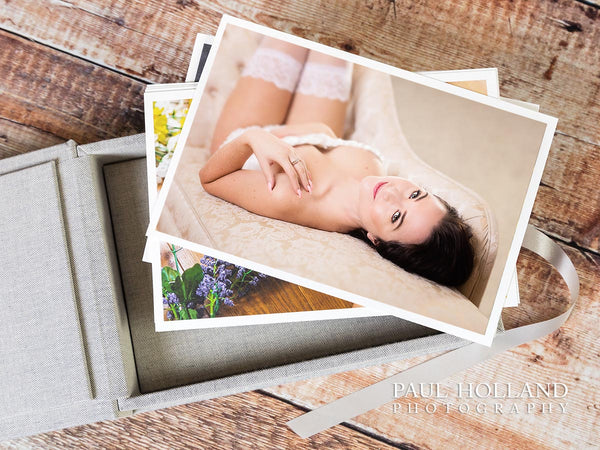
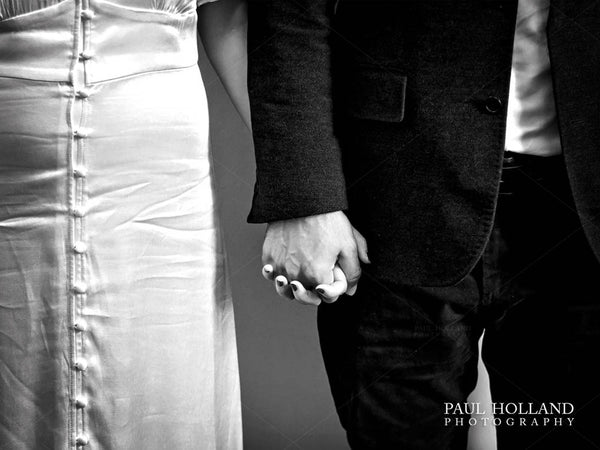
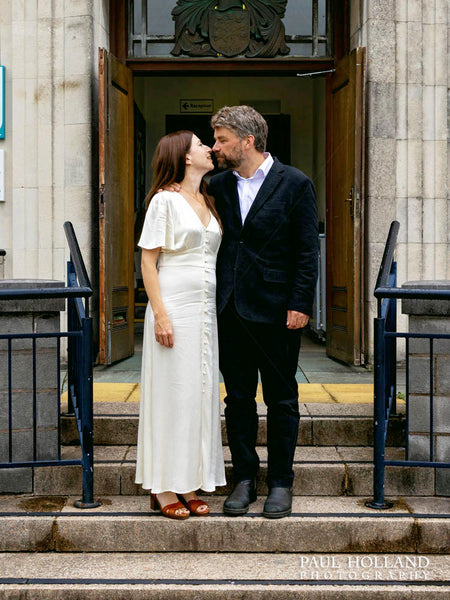
A black and white bridal portrait © Paul Holland
Well, have you ever noticed that black and white photographs can somehow convey emotion in a way that colour images simply can't? When we view black and white photographs, we are guided to consider the story of the image without being distracted by elements of colour. Without those colour distractions, black and white photos emphasise composition, texture, lighting, and mood, allowing us, the viewer, to focus more on the form or shape of the subject, on the expression and the emotion conveyed in the image.
Take a look at the high-key black and white bridal portrait image I created at Danika and Freddie's wedding. If you look closely, you will see that I deliberately retained some texture in Danika's veil, but without any colour information the viewer's focus will be on the bride's (Danika's) face. So what secret power do black and white images have to make this happen?
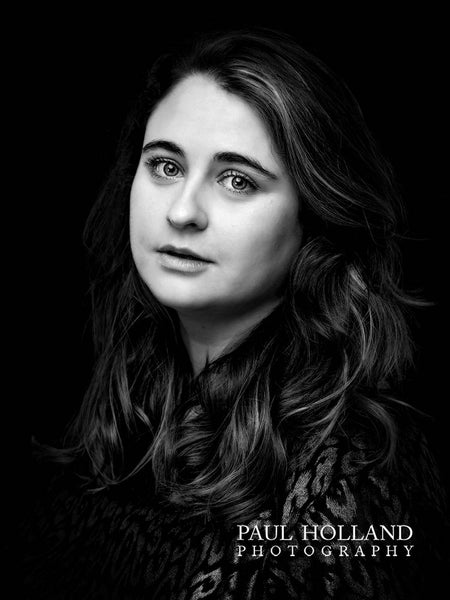
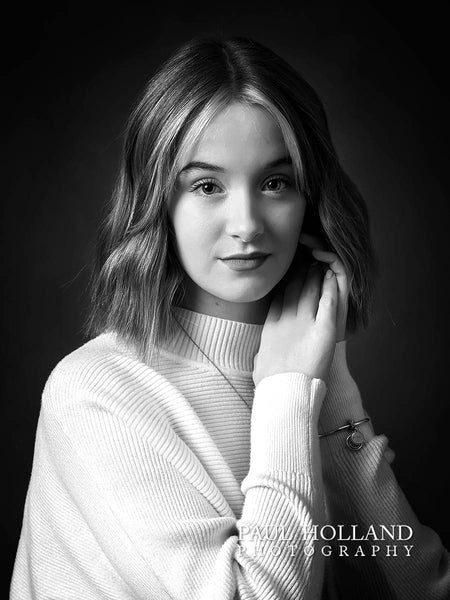
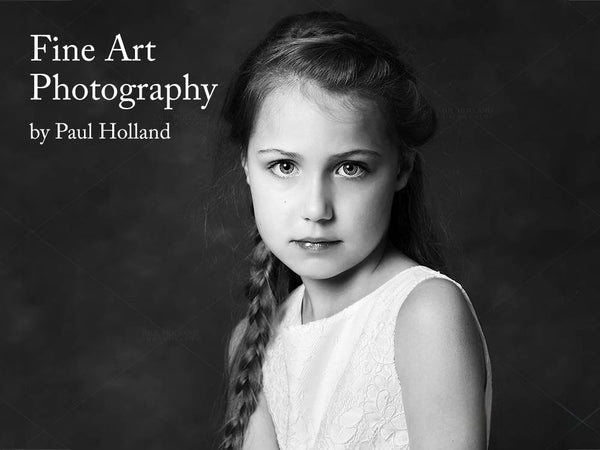
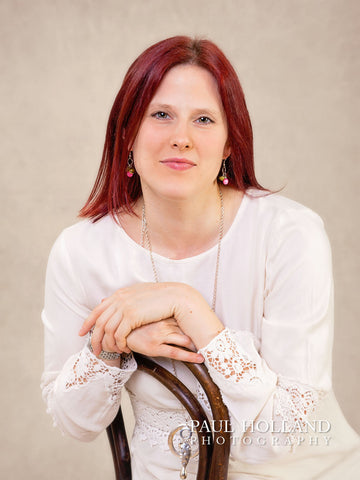
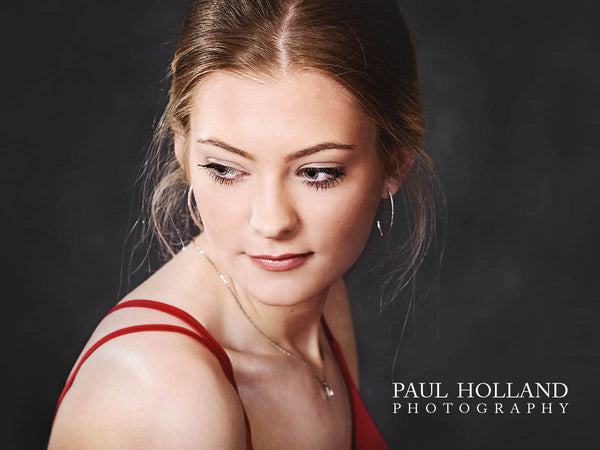
A black & white studio portrait of Charlotte © Paul Holland
In life, we generally consider things in two ways: we either take a high level, abstract overview or a low level, detail-oriented view. There are several reasons why we do this and one of those is time. Imagine planning a wedding to take place in two year's time. Because the wedding is two years away, the way we think about it would be at a high level. We might consider which month to hold the wedding, which locations we would prefer, and how many people can be accommodated at each venue but we would be unlikely to plan the detail of the day minute by minute, at this point in time. That's because our hypothetical wedding is two years away.
Now imagine starting to plan the same wedding but with only a month to do so. Our planning would be at a much lower level with details such as the schedule for the day, the seating plan for people by name, transport arrangements for individual people, etc. In other words, the planning would be at a lower level now because the event is much closer in time.
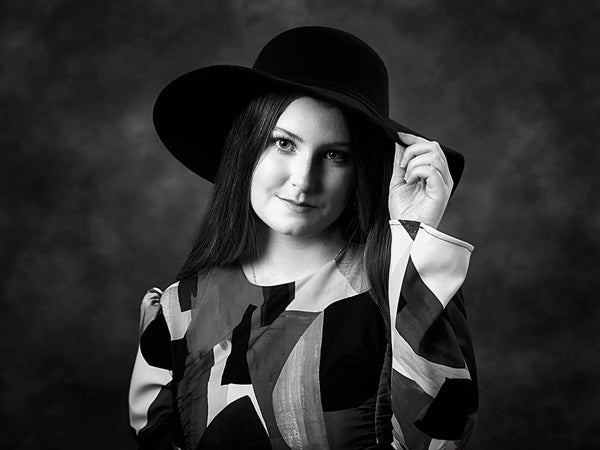
Black and white studio boudoir portrait © Paul Holland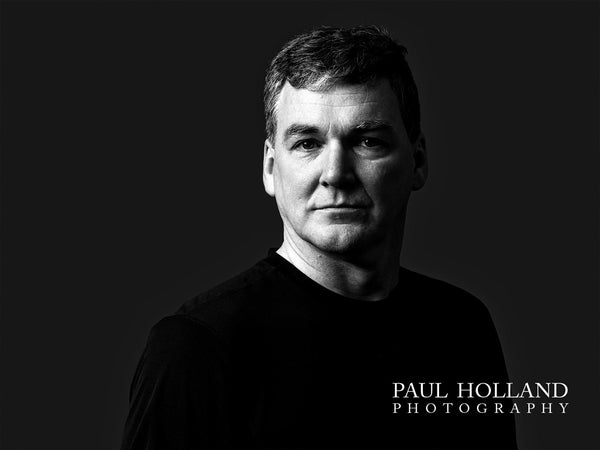
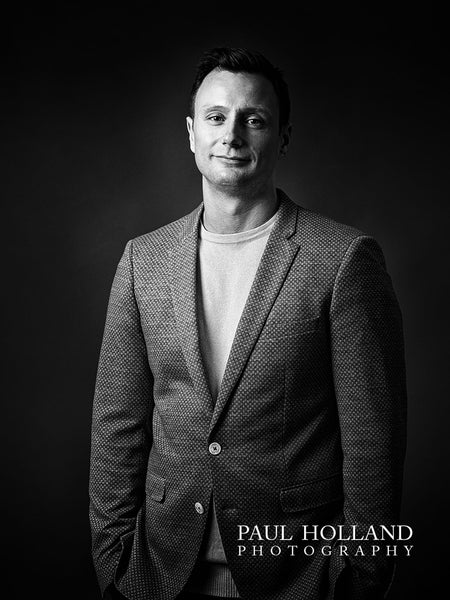
A man's studio portrait © Paul Holland
A high-key (light tones) black and white portrait © Paul Holland
So presenting images in black and white promotes a high level, more abstract way of thinking about what we see, compared to colour images which promote a low level, more detailed view. When we view a black and white image, there is none of the colour information usually associated with events we are experiencing in the present, in the 'here and now'. Without the colour detail, our brain takes a high level view of the image.
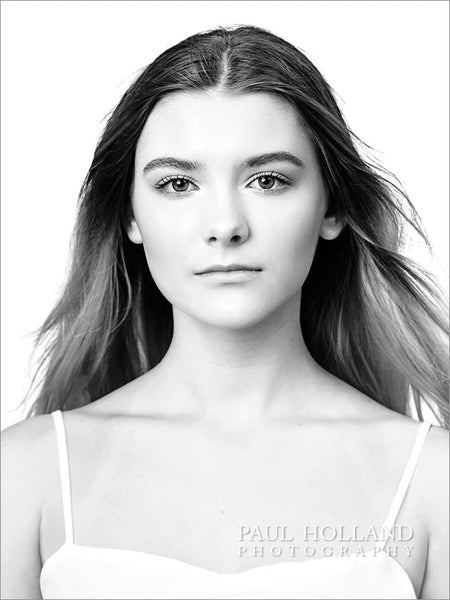
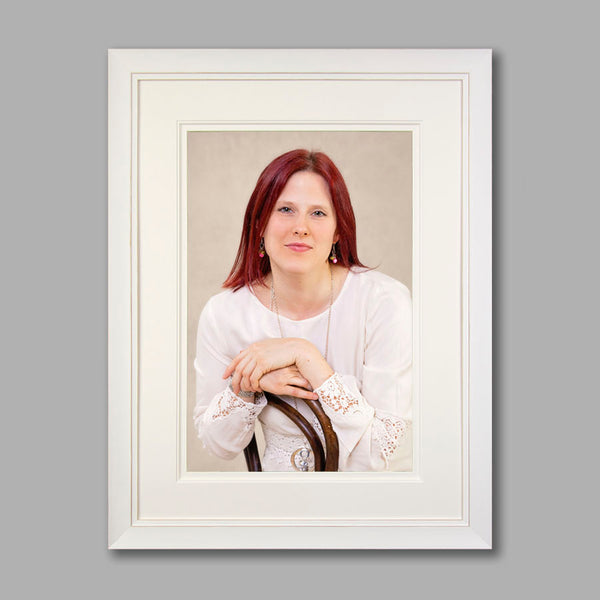
The photograph below shows one of the images I created for Grace during her head shot session. There's no colour detail to distract from the main focus of the image: Grace's face and hair. I have accented the hair highlights and the pattern on Grace's top. Clothing is important too (you can read my post about what to wear for a head shot session) but presenting the image in black and white is what encourages us to focus on the face when we see this image.
A black and white image from my headshot package © Paul Holland
Our tendency to view black and white photographs at a high level makes it very suitable for portraits and incredibly effective at creating drama and mood. This helps lend a sense of sophistication and elegance to the subject, resulting in more intimate and evocative portraits. There's a sense too that because photographs would traditionally have been in black and white (before colour film existed) modern black and white portraits exude a classic and timeless quality.
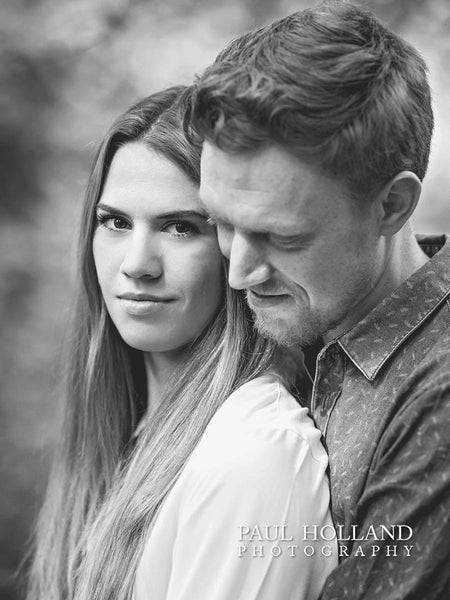
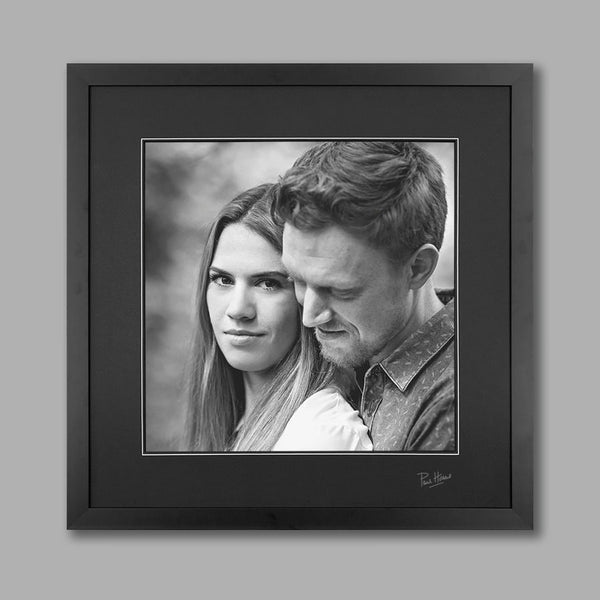
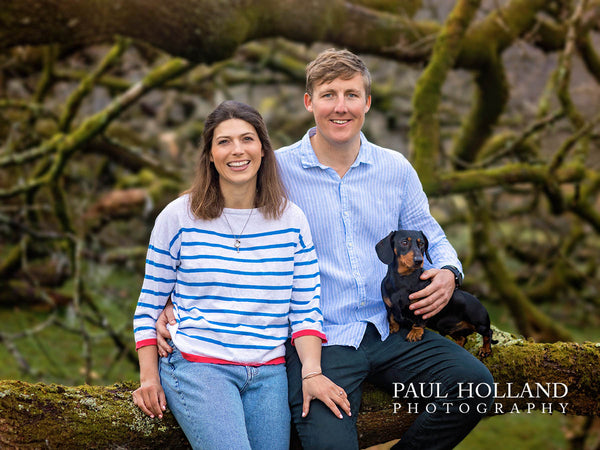
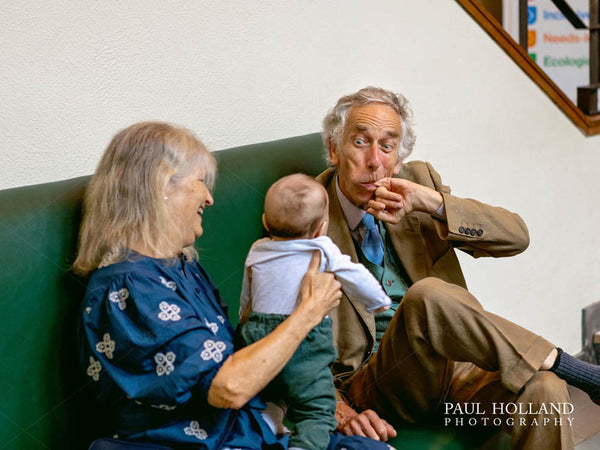
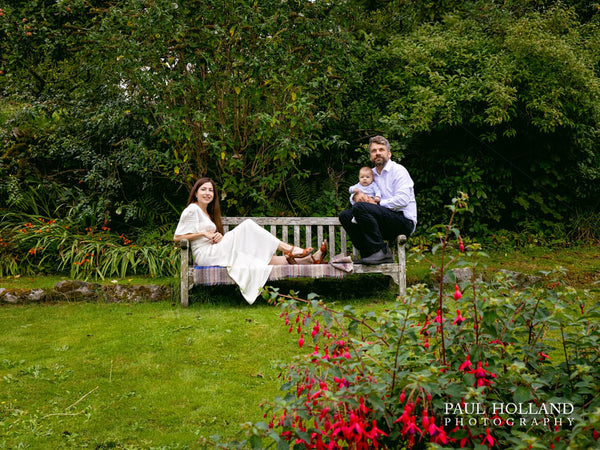
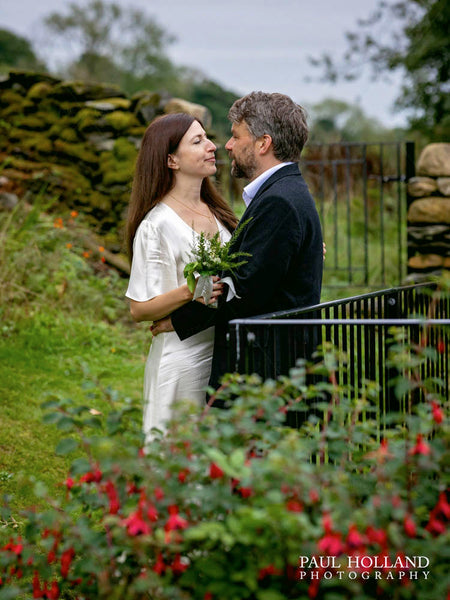
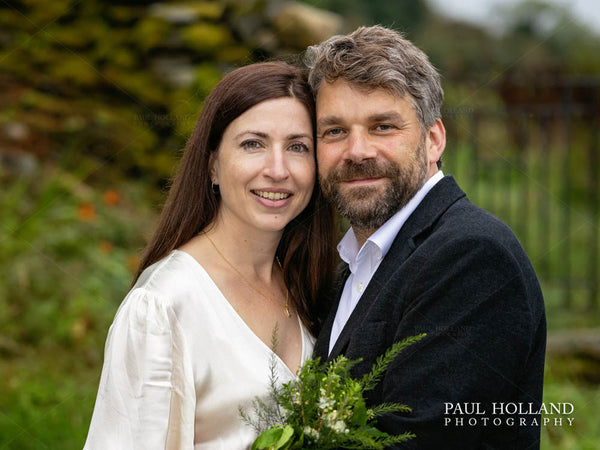
Black and white outdoor portrait of a couple © Paul Holland
This is why black and white photography is often preferred not just for fine art portraiture, but also for editorial spreads, or historical documentation, while colour portraits may be more suitable for commercial work, lifestyle photography, or portraits intended to capture vibrant, real-world environments.
So, you may be wondering what approach do I take? The answer is that I photograph in colour but I think in black and white too. What I mean by this is that I can see when I am photographing whether the finished image will look best in black and white and so I think in terms of these tones when I take the shot. Later when I use the image to create a monochrome (black and white) photograph I choose tones that will suit the image best. Of course, on my Black and White-themed Photo Shoots, all of the images will be finished as black and white.
A black and white portrait in the studio © Paul Holland
On a typical photo shoot, I will take some shots that I intend to create as black and white and some as colour images. When someone books me to photograph them on their own, or with their partner, their children or their family, they usually want a mix of colour and black and white photographs. I will ask first because some customers want only black and white images and ultimately it's your photo shoot, you know which you prefer and so the choice is yours.
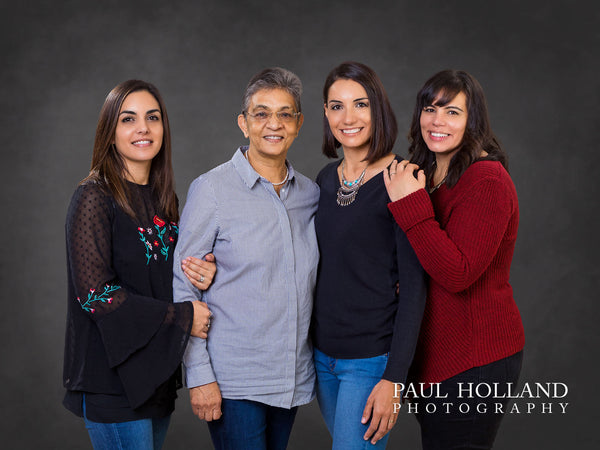
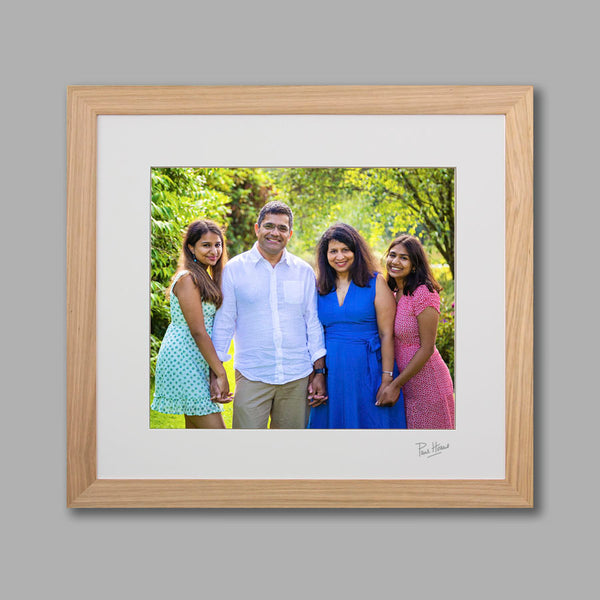
A black and white family portrait © Paul Holland
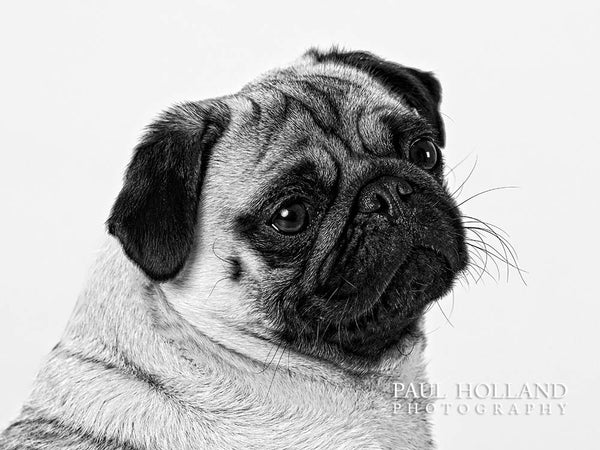
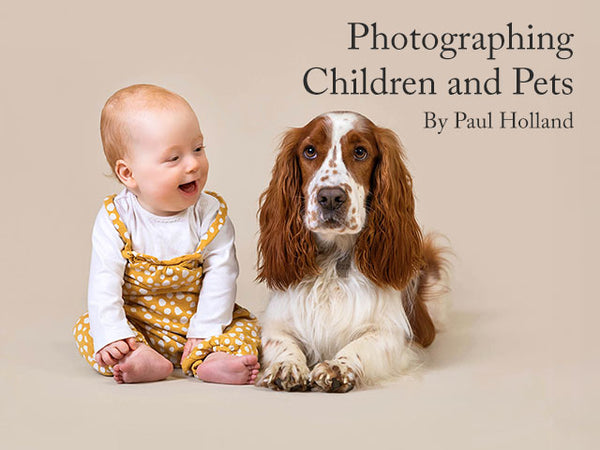
Black and white photography is versatile and can be applied to a wide range of subjects and genres. With its ability to emphasize composition, form, texture, and mood, it is a powerful tool for creating visually striking and emotionally resonant images. Oh, and it works well for pet photos too!
Some of my other posts:
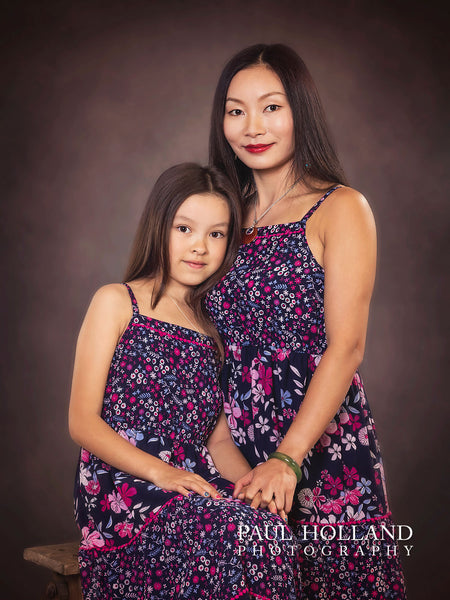
Mums and Daughters photo shoots
Celebrating the School Prom
]]>


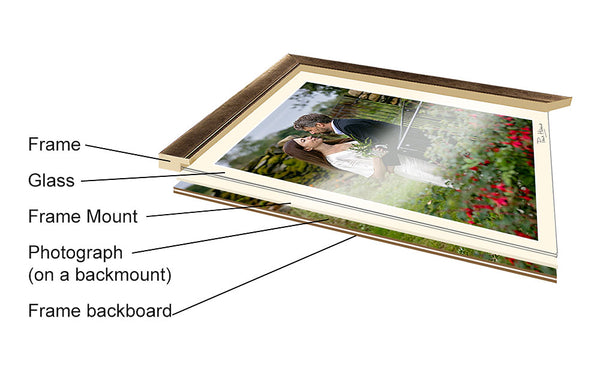


 Stitching around the edge of the album